Protein Banana Pudding

Ravish Kumar
| 28-09-2026
 · Food Team
Banana pudding is a familiar dessert built around creamy layers, ripe fruit, and a soft vanilla flavor. This version adds vanilla protein powder and high-protein yogurt to the mixture while keeping the dessert easy to assemble.
Instead of serving one large dish, the pudding is divided into individual glasses, creating neat layers of creamy filling, banana slices, and lightly crushed vanilla wafers. It needs several hours to chill, so it is a useful make-ahead option when a cold dessert is wanted.
Ingredients
1/2 cup vanilla protein powder
1 package vanilla instant pudding mix, 3.4 oz.
1 1/2 cups cold milk
1 1/4 cups heavy cream
1/3 cup sweetened vanilla high-protein yogurt
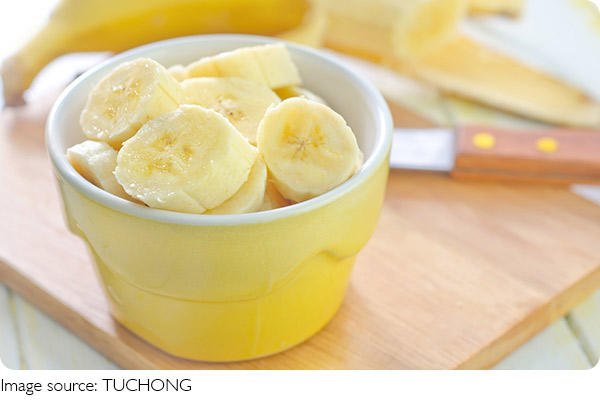
3 ripe bananas, thinly sliced
Want a warm comfort meal? Combine tender pasta, tuna, and creamy sauce for dinner!
Ripe tomatoes, fragrant herbs and gently softened vegetables come together in a rich, rustic soup ready in just 30 minutes.
Golden potato spirals, smoky Spanish-style sauce and melted Manchego turn ordinary potatoes into an irresistible snack.
Warm, golden bananas, cold vanilla ice cream, honey and crunchy almonds come together in a wonderfully simple dessert.
Sweet berries meet tender cornbread in a chilled layered dessert that’s easy and refreshing!
Craving a quick solo meal? Try golden fish sticks with a crisp coating and tender center!
27 vanilla wafers, lightly crushed
4 whole vanilla wafers
Preparation time: 20 minutes
Chilling time: at least 3 hours
Total time: about 4 hours
Serves: 4
Instructions
1. Add the vanilla protein powder and instant pudding mix to a medium bowl. Slowly pour in the cold milk while whisking continuously. 2. Keep mixing until the liquid is smooth and free of visible lumps.
3. Cover the bowl and refrigerate the pudding mixture for at least 40 minutes. It will remain somewhat softer than traditional pudding during this stage, which is suitable because it will later be combined with the whipped mixture.
4. Pour the heavy cream into a large bowl. Using a handheld mixer, beat it at medium-high speed until soft peaks develop. Add the vanilla yogurt and continue beating until the mixture becomes firm, which should take roughly another 30 to 60 seconds.
5. Reserve 1/2 cup of the whipped mixture in a covered container and place it in the refrigerator. This portion will be used as a topping when the pudding is ready to serve.
6. Fold the remaining whipped mixture into the chilled pudding base with a rubber spatula. Stir gently until the two mixtures are fully incorporated and no obvious streaks remain.
7. Prepare four small jars or serving glasses. Spoon about 1/4 cup of the pudding mixture into each one, followed by four or five banana slices and roughly two crushed vanilla wafers.
8. Repeat the pudding, banana, and wafer layers once more in each serving glass. Finish each portion with another 1/4 cup of the creamy mixture.
9. Cover the individual servings and refrigerate them for at least three hours. They can also remain chilled overnight, which gives the layers additional time to settle.
10. When ready to serve, add a spoonful of the reserved whipped mixture to each portion. Finish with a whole vanilla wafer and a few additional banana slices.
Why the Layers Matter
The appeal of this dessert comes from the contrast between its different components. The pudding mixture is smooth and creamy, while banana slices provide a soft fruit texture. Crushed vanilla wafers introduce a mild crunch when freshly assembled. Building the dessert in individual glasses also makes it easier to control the amount of each component. Rather than mixing everything together, the ingredients remain visible in distinct layers.
Choosing the Bananas
Ripe bananas work particularly well because they provide natural sweetness and a soft texture that fits easily between the creamy layers. Choose bananas that are ripe but still firm enough to slice cleanly. Slice them shortly before assembling the dessert when possible. This helps the pieces maintain their shape and makes the finished portions look fresher.
Serving Ideas
Individual pudding glasses are convenient for serving because each portion is already assembled. They work well for a family dessert, an afternoon sweet treat, or a make-ahead option for guests. For a clean presentation, add the final topping immediately before serving. A small spoonful of the reserved cream, a whole vanilla wafer, and several banana slices are enough to finish each portion without making the dessert overly complicated.
This protein-focused banana pudding keeps the familiar combination of vanilla, banana, and creamy layers while adding protein powder and high-protein yogurt to the mixture. The recipe requires little hands-on preparation, although it does need time in the refrigerator. With individual portions, simple ingredients, and a mixture of creamy and lightly crunchy textures, it offers an easy dessert that can be prepared well ahead of serving.